May 02, 2011

"Instant" Pancake Mix

Packaged pancake mixes have been my go to for years. One look at my email address would confirm my love of pancakes and a brand my mama used in a pinch when we were growing up. (That has been my email address for about 14 years!)

Itty bitty LOVES pancakes. He flips, pun intended, every time he sees an IHOP commerical or sees a blog with a photo of pancakes. The latter happened this morning after we had already ate breakfast. My solution... breakfast for dinner!

These are hands down the best pancakes I have ever made. I don't know how I will ever be able to bring myself to buy a packaged pancake mix again and I hope that I don't resort to going that route ever again. These are the fluffiest pancakes I have ever tasted.

Maybe it has something to do with separating the egg white and yolk. The egg white gets whisked into the buttermilk and the yolk gets whisked into the melted butter and then both are combined and then poured over the dry ingredients. Chemistry? Maybe. I have no idea if this is the real reason the pancake fluffs the way it does but I've never had a pancake fluff the way these do.

Make a stack of these light as day pancakes for breakfast or switch it up and have them for dinner. Day or night, they won't disappoint.

Food Network's Alton Brown
Makes 12 pancakes (1/4 cup batter for each pancake)

Stars of the Show:
  • 6 cups all-purpose flour
  • 1 1/2 teaspoons baking soda
  • 3 teaspoons baking powder
  • 1 tablespoon kosher salt
  • 2 tablespoons sugar
  • 2 eggs, separated
  • 2 cups buttermilk
  • 4 tablespoons melted butter
And Action:

Combine the flour, baking soda, baking powder, salt, and sugar. You can also make the "pancake mix" ahead of time by combining the dry ingredients in an airtight container and storing for up to 3 months.

Heat a skillet over medium.

Whisk together the egg whites and the buttermilk in a small bowl. In another bowl whisk the egg yolks with the melted butter.

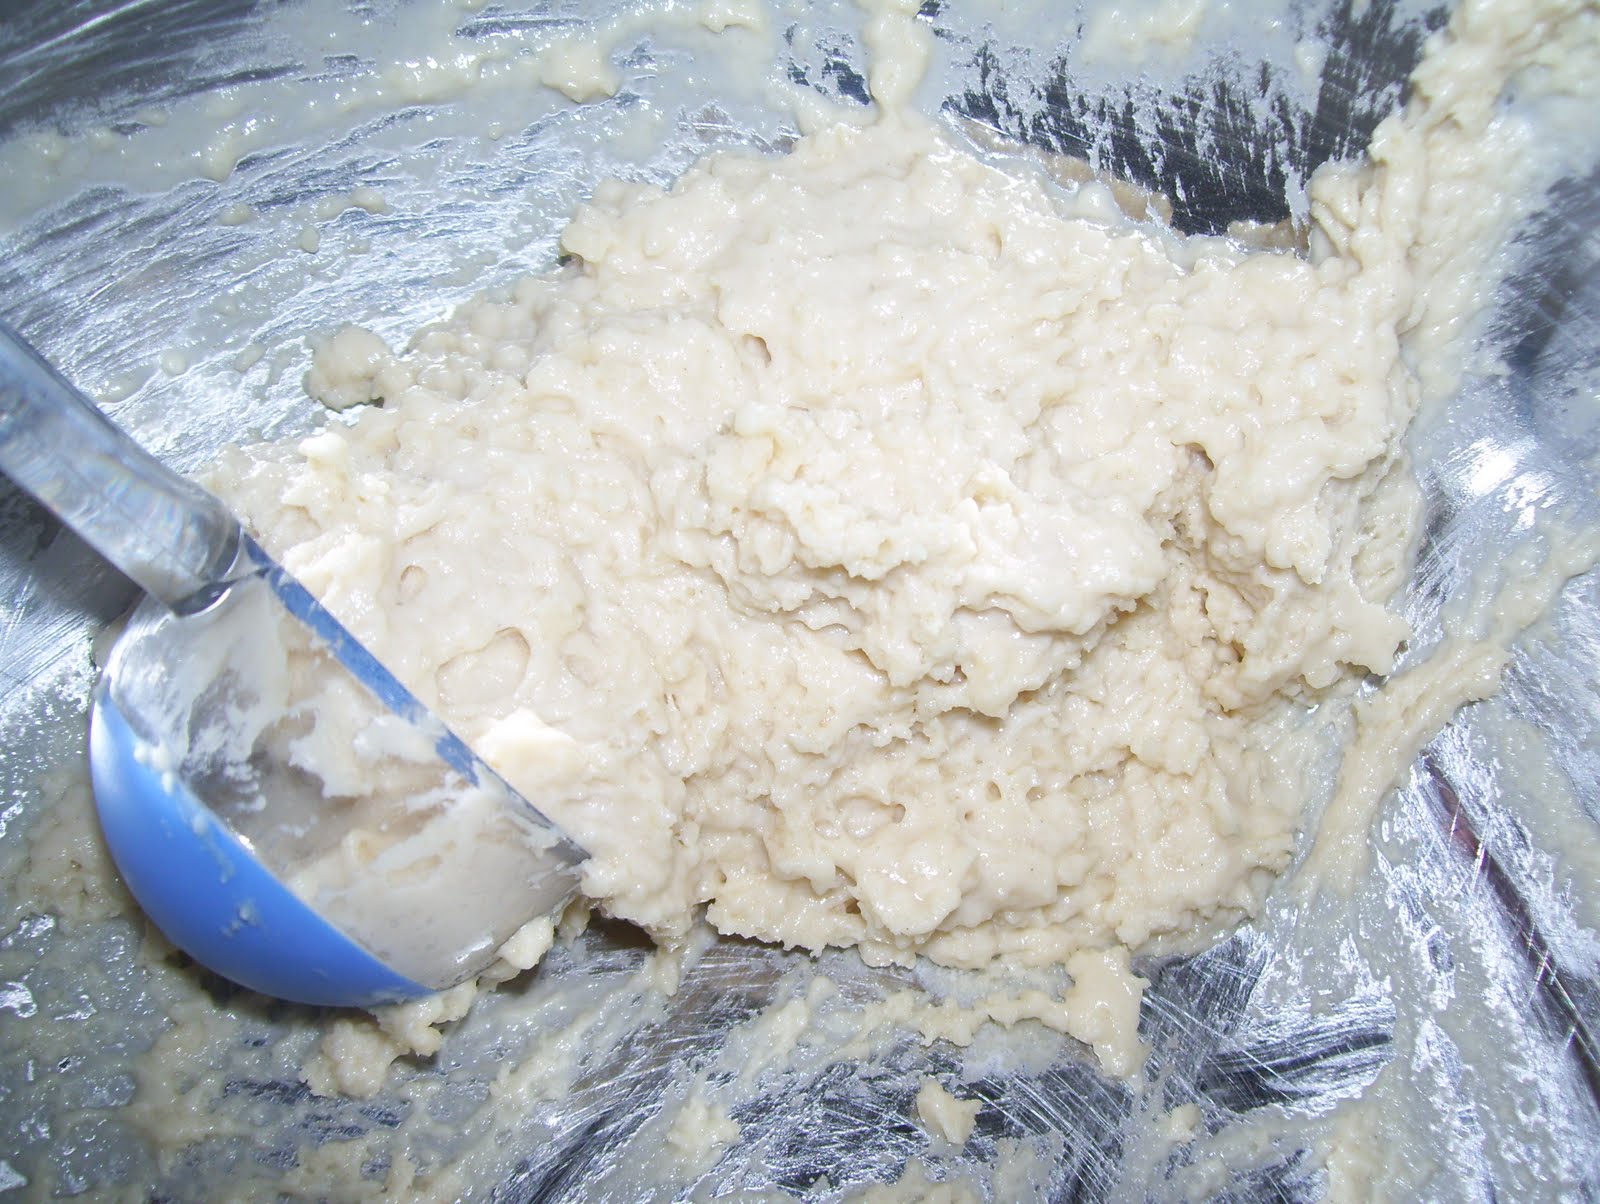
Combine the buttermilk mixture with the egg yolk mixture in a large mixing bowl and whisk together until thoroughly combined. Pour the liquid ingredients on top of the pancake mix. Using a whisk, mix the batter just enough to bring it together. Don't try to work all the lumps out.

Make sure the skillet is nice and hot. You can check to see if it is hot enough by dropping a couple of water drops into the skillet and if they "dance" across the skillet it is ready.

Lightly butter the skillet. Wipe off thoroughly with a paper towel. (No butter should be visible.)

Gently ladle the pancake batter onto the skillet. When bubbles begin to set around the edges of the pancake and the skillet-side of the cake is golden, gently flip the pancakes. Continue to cook 2 to 3 minutes or until the pancake is set.

Serve immediately or remove to a towel-lined baking sheet and cover with a towel.

May 01, 2011

Breakfast Biscuits

I am a regular at our local library. I tend to pick up foodie reads. The last trip to the library I came home with The Baby Food Bible and How Do Dinosaurs Eat Their Food?. Of course the latter was for me itty bitty.

The Baby Food Bible was filled with very useful information on providing proper nutrition for your newborn on to the "high chair cuisine" ages (toddler years). There were also plenty of recipes and I bookmarked a few I wanted to try. While this book would have been helpful to have when I was pregnant, over three years ago, I found it was still helpful as a reminder as to how to fuel my toddler's little body.
One of the first recipes I knew I wanted to try were the Breakfast Biscuits. I got to thinking about how I have never made a plain biscuit. I made those delicious Cheddar Bay Biscuits but sometimes a comforting straight forward biscuit is what I need and biscuits and gravy is what I have in mind.
These biscuits are obviously made with tiny mouths, tiny hands, and tiny appetites in mind. They are the perfect size for an itty bitty or as a side dish. If a larger biscuit is what you are wanting than you would need to double the amount dropped per biscuit.

Breakfast Biscuits
Makes 12 2 inch biscuits

Stars of the Show:
  • 2 cups all purpose flour
  • 1 tbsp baking powder
  • 1/4 tsp salt
  • 5 tbsp butter, softened
  • 1/2 cup milk
  • 1/4 cup maple syrup or honey
And Action:

Preheat oven to 350 degrees. In a large bowl combine the dry ingredients. With fingers or a fork blend the butter in to the flour mixture until it resembles coarse meal. In a separate bowl combine the milk and maple syrup. Pour the milk mixture over the dry ingredients and stir until all the flour is moistened. Avoid over mixing; a few lumps are okay. Drop by the spoonful onto a greased baking sheet and bake the biscuits for 15-18 minutes or until the biscuits start to brown.

April 30, 2011

Salt and Pepper Oven Fries

I love seasonings. I love a well seasoned anything. These fries are very tasty and easy to make. They make a great side dish when paired with a juicy cheeseburger.

Salt and Pepper Fries are a tasty alternative to just plain french fries. Serve with your favorite dipping sauce or just plain ketchup. For more oven fries variations click the Salt and Pepper Oven Fries link.

MyRecipes.com and Southern Living, September 2009
Makes 8 to 10 Servings

Stars of the Show:
  • 1 (26 oz) package frozen extra crispy French fries
  • 3/4 tsp fresh ground black pepper
  • 1/2 tsp kosher salt
And Action:

Cook the french fries according to the package directions. Once they are crispy and golden brown toss with the black pepper and salt. 

Don't forget to enter the giveaway for an Organic Bikes Biodegradable Water Bottle!

April 29, 2011

French Toast (Torrijas)

Miriam from, The Winter Guest, recently posted a recipe for Torrijas, a Spanish Easter treat. After a brief history lesson she shared the recipe. I was beyond giddy to give this recipe a try since I had all of the ingredients on hand.

Torrijas or French Toast are soaked in a sugared milk with cinnamon and then fried to a golden brown and then sprinkled with cinnamon sugar. The texture is more of a bread pudding than the traditional french toast I am used to. It has a crispy outside and a moist creamy milky inside.

Itty bitty loved this recipe for the french toast. I had been having a hard time getting him to eat my french toast since Christmas time when he got a taste of Pap's (Mr. Sideline Chef's dad). He would take a bite of mine and tell me, "No! Pap's!"

I set this in front of itty bitty this morning and like he always does took a bite but this time he kept shoveling bites into his mouth until he was full. I just want to give a big air hug to Miriam for introducing me to this recipe. It will be making it's way into the breakfast rotation.

If you plan on making this make sure to take notice of the hour soaking time for the bread. Once that is done the recipe comes together in a snap.

Please be sure to check out Miriam's blog, The Winter Guest, and try her recipe for Torrijas for your loved ones sometime soon. Tell her the Pretend Chef sent you!

Don't forget to enter the giveaway for an Organic Bikes Biodegradable Water Bottle!

April 28, 2011

Fettuccine with Olive Oil, Garlic, and Red Pepper Flakes

I am a big fan of pasta and olive oil thanks to my Italian mama. Many nights our plates would have a side dish of pasta noodles drizzled with olive oil. It is a comfort food of mine since it immediately transports me back to my mama's table.

This recipe is quick and simple. It makes for a perfect weeknight meal and even for a "Meatless Monday" like our family enjoyed with a side of fresh green beans.

The garlic and red pepper flakes get infused into the olive and then tossed into the pasta with a sprinkling of parmesan cheese and parsley. This pasta packs a heat kick. If you are not a fan of spicy then I would recommend adjusting the red pepper flake amount to your liking.

MyRecipes.com and Cooking Light, April 2011
Makes 4 servings

Stars of the Show:
  • 1/4 cup olive oil, divided - I used half this amount and didn't drizzle the remaining amount over the pasta. I felt it would make it too oily.
  • 3 garlic cloves, minced
  • 1/2 tsp crushed red pepper flakes - This amount makes for quite a spicy kick. Adjust to your liking.
  • enough water for boiling fettuccine
  • 3 1/4 tsp salt, divided - I only used enough salt for salting the boiling water the noodles cooked in. I decided not to add any extra salt to the pasta since parmesan cheese has a salty bite.
  • 8 oz uncooked fettuccine
  • 1/2 cup (2 oz) grated Parmesan cheese
  • 1/3 cup coarsely chopped fresh flat-leaf parsley - I used dried parsley since that was what I had on hand.
And Action:

Heat a large skillet over medium-high heat. Add 2 tbsp of olive oil and the garlic. Stir constantly for 30 seconds, stir in the red pepper flakes and then remove from heat.

Prepare pasta according to package directions. Drain over a large bowl and reserve 1/2 cup of the liquid. Add the pasta, cooking liquid, and salt (optional) to the garlic mixture. Toss to combine well. Add the parmesan cheese and parsley. Drizzle the pasta with remaining olive oil if desired.

Nutritional Information Per Serving:
Calories: 397
Fat: 19g
Saturated fat: 4.6g
Monounsaturated fat: 11.3g
Polyunsaturated fat: 2.5g
Protein: 13.2g
Carbohydrate: 44g
Fiber: 2.1g
Cholesterol: 12mg
Iron: 2.4mg
Sodium: 559mg
Calcium: 180mg

Don't forget to enter the giveaway for an Organic Bikes Biodegradable Water Bottle!

April 27, 2011

Chocolate Glaze

Mr. Sideline Chef and I are about to celebrate our 4 year anniversary coming up on May 9. Our anniversary is the only holiday that I get overly emotional about and stress the importance to him about not forgetting. He in fact actually remembered the date this year all on his own. For a man who forgets his own father's exact birth date (he remembers it's around the tax filing deadline, haha) I was rather impressed and touched.

I don't know why I put so much importance on our anniversary. For example... Mother's Day. Overrated. I'm happy to be a mother everyday and don't need a special day. So why do I get so crazed over our anniversary when everyday with Mr. Sideline Chef is special? Can't put my finger on it. Plus throughout the year we do "just because" surprises which are more exciting than anticipating an actual day and forcing him to buy me a special present.

Maybe it's because I like to brag that we've been together for X amount of years. That must be it. The fact that we've found a way to live with each other's quirks and not kill each other in such a small living space after all these years.

With our anniversary date approaching and the lovey feeling so strong I decided that I wanted to make chocolate covered strawberries. Every time we are at the mall and we pass Godiva I can't help but drool over theirs. He'll always ask me if I want some but being as frugal as I am the answer is always the same, "No!" Actually, it's more like, "Hell no! Are you kidding me? I could make them for less!"

I didn't make the chocolate covered strawberries for our anniversary, per se, but they would be a perfect dessert for that night. Instead I made them as a special dessert surprise since I rarely make dessert. It will be a nice surprise after a Monday at work.

So simple to make! I made the chocolate glaze which is nothing more than melted chocolate chips with a little bit of vegetable shortening to add shine. Once the chocolate glaze was ready I dipped the strawberries into it and then placed them on wax paper and let them chill in the fridge to set. Did I mention how easy? And less than $10 to make!

Mandatory... Lick the bowl clean!!!

MyRecipes.com and Real Simple, December 2000
Makes 1 cup

Stars of the Show:
  • 2 cups semisweet or milk chocolate chip pieces - You could use the same amount of white chocolate chips if you prefer.
  • 2 tsp vegetable shortening, optional
And Action:

Melt the chocolate in a metal bowl and place it over a saucepan of simmering water. Once the chocolate is completely melted, you can use it as a dip or drizzle it over the cookies. Chocolate covered strawberries are highly recommended or bananas and then sprinkled with chopped peanuts and then frozen. Yummy!

Nutritional Information Per Serving:
Calcium: 7mg
Calories: 102
Calories from fat: 1%
Carbohydrate: 13g
Cholesterol: 0mg
Fat: 6g
Fiber: 1g
Iron: 1mg
Protein: 1mg
Saturated fat: 4g
Sodium: 2mg

Don't forget to enter to win an Organic Bikes Biodegradable Water Bottle!

April 26, 2011

Kettle Corn

Growing up I had an obsession. Kettle Corn. I would beg my mama to buy boxes or bags of it whenever we'd go to the store or we were at a festival. I couldn't get enough of the sweet, salty, and crunchy combo. The best part were the bits of sugar that would settle at the bottom of the bag and I would shamelessly lick it clean.

After I met Mr. Sideline Chef my Kettle Corn addiction came to a screeching halt. Don't know exactly how it happened but it just did. I quit the stuff cold turkey. Maybe it was my determination at losing the 50 pounds I packed on during pregnancy or because I didn't want to embarrass myself licking the bag and my fingers clean. That would be so "unlady like" as my mama liked to often remind me I was. Haha!

One afternoon while itty bitty was napping I was browsing through some recipes and came across Kettle Corn. The flood of memories came back and then I had an immense need to have it. All of the ingredients were in my pantry! Under my nose all along and I had never thought to make it. Had I known how simple it was I'm sure those 40 pounds lost so far would have crept back on.

Itty bitty loves watching the movie, CARS, and we allow him to watch it once a day. I decided to make the Kettle Corn as his snack and let him get cozy with his blanket while he watched the movie.

It only took about 5 minutes to make! After I popped the popcorn kernels in a brown paper bag with a little bit of the oil I sprinkled the sugar and salt over top. It was everything I remembered it to be... habit forming... although not as obsessive as I once was. Thankfully, I finally understand what it means to enjoy things in moderation. Moderation as in every other day.

Why not whip up a batch for your next movie night? Yummy!

MyRecipes.com and Southern Living, September 2004
Makes 12 cups

Stars of the Show:
  • 1 1/2 tbsp vegetable oil
  • 1/2 cup unpopped popcorn kernels
  • 1/4 cup sugar
  • 1/2 tsp salt
And Action:
For the recipe's original directions, click the Kettle Corn link above.

For individual servings: Add 3 tbsp of unpopped popcorn kernels in a brown paper bag with a little bit of the oil. Roll the top of the bag down a little bit leaving room for the kernels to pop. Place the bag on a microwave safe plate (the oil will seep through the bag) and pop the kernels in the microwave on high until the pops slow to 4 seconds in between. While hot out of the microwave, sprinkle the popcorn with the sugar and salt.

Eat, enjoy, and lick those fingers clean!

Don't forget to enter to win an Organic Bikes Biodegradable Water Bottle!
Related Posts Plugin for WordPress, Blogger...